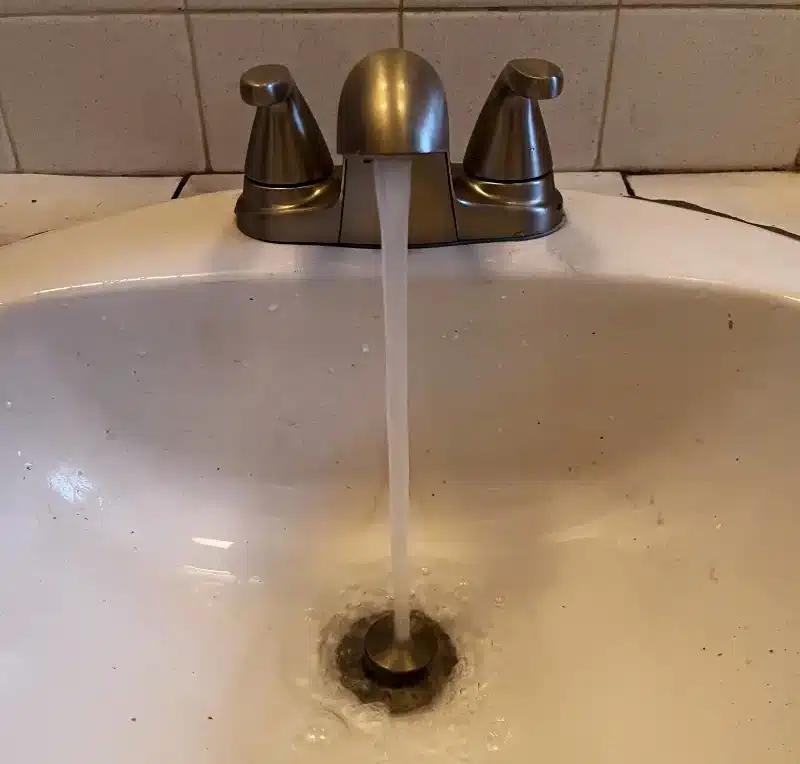
5 Reasons You Have A Leaky Faucet And How To Fix It
Google Rating
4.9
Based on 1621 reviews

Flow Pros Plumbing
4.9

Geno Bradley
11:29 20 Jun 25
(Relocate main water line) Great Job!🌟Earnest🌟is a outstanding & hardworking pro that works Quickly!🌟Paul🌟was excellent. He planned it out made connections and tested everything to make sure we were good to go!I got 2 different quotes from two different plumbing companies……Flow Pros was not only the best price, but they showed up the same day to review my problem and give me a quote in person.Once we decided that we were going with Flow Pros……. I told them on Friday……..that said we decided to go with their company and they were in our yard getting a done early Monday morning !

Jesse Chin
18:11 17 Jun 25
I had a great experience with Bryce and Jerrod — they did an excellent job! They were professional, knowledgeable, and efficient from start to finish. They took the time to explain everything clearly, made sure the work was done right, and left everything clean and tidy. It’s rare to find plumbers who are not only skilled but also respectful and easy to work with. I highly recommend them!

J. Ross Kearsley
19:19 13 Jun 25
Allan and J-rod were excellent professionals who performed their job promptly and efficiently. Their courteous demeanor and disposition exceeded expectations. Such a pleasure to have on-time service without having to get pressured for services tgat were not required.These gentlemen were honest and responsible technicians.Great work! THANK YOU both.James.

Anthony Baker
12:19 09 Jun 25
Elijah Johnson, our technician, replaced three exterior shut-off valves for our condominium building. We will utilize Flow Pros in the future due to the exceptional quality of work and professionalism exhibited by Elijah. The only reason I am giving a 5 star rating is because of the superior service and quality work I received on-site. I give the phone representatives/office staff a 1 star rating due to the scheduling conflicts, delays, and the lack of communication I encountered.

Ricky Castillo
20:10 06 Jun 25
Just had a great experience with my plumber, Paul! He was super friendly, took the time to thoroughly inspect the issue, and quickly found the source of the leak. You can tell he knows his stuff. Everything was handled professionally and efficiently, and I highly recommend!